Lesson 8 Drawing a Tree
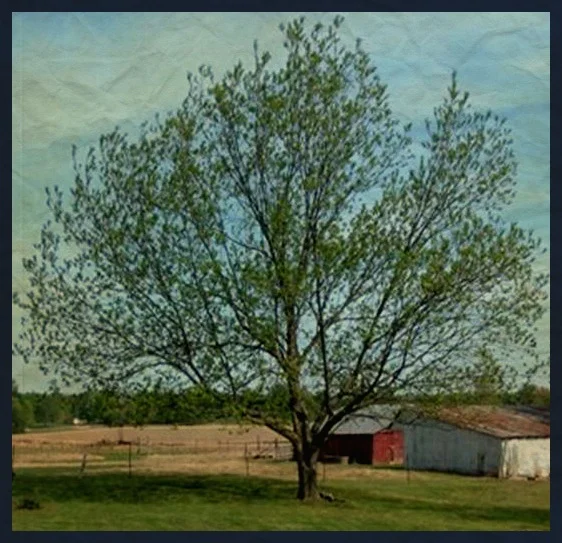
Its the perfect time of year to learn tree drawing basics. Right now the trees in my neighborhood are just beginning to puff out with foliage but you can still see their branches through the leaves. You can practice these new skills and use my tree drawing and the photo or you can just follow my instructions and select your own tree model. If my tree looks too complicated please choose a simpler tree.
Start drawing your tree by finding a unit of measurement. I used the tree trunk and found the total tree measured 10 trunk lengths. Then I drew 10 trunk lengths on my paper and found I had drawn the first trunk too big, so my 9 and 10th trunk went off the paper and I had to start again. I also measured how many trunk lengths were in the width of the tree and found I either needed to start over or tape a piece of paper to my original paper. You can see above I chose the tape option.
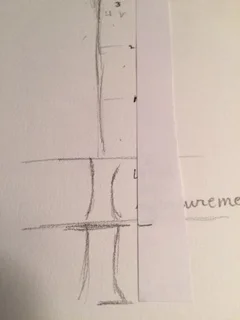
I used a strip of paper to measure and marked one trunk length, and that made it much easier to mark the number of trunks in the width and height of my drawing. I used it like you might use a ruler only in this case, the ruler had no numbers....
Once I had the measurements on my paper I started drawing the tree limbs. I tried to think in terms of their shapes and kept telling myself this is a Y shape, this is a V shape, etc. I kept in mind that the branches start out thicker and gradually get thinner and thinner as they reach the top of the tree. I also kept telling myself, this tree doesn't have to be perfect, it just has to look like a tree. I don't have to draw every branch, just enough so it looks tree like.
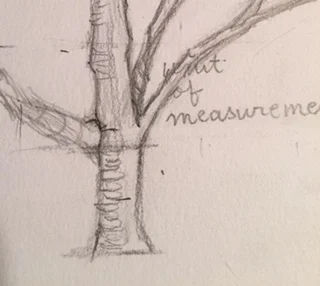
After I had the branches finished, I went over them again and tried to give them roundness by adding curved shading and thinking about them as if they were 3-D tubes. I also drew the branches one behind the other and overlapped them.
I made marks for the leaves and foliage with the side of a soft drawing pencil and added the shadow beneath the tree. The tree drawing at this point could be used for a sketch for a painting, but I think if I want to have a finished drawing, then I need to do some more work and add more shading and foliage. I think I will do that tomorrow.
Lesson 9 Drawing, Shading and Blending
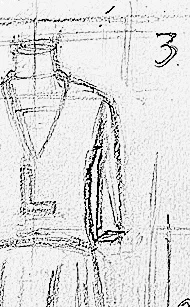
It's important to choose something you want to draw. I turned on a lamp that is on top of the cabinet and to the left side of the mannikin to give the mannikin some more lights and darks and shadows.
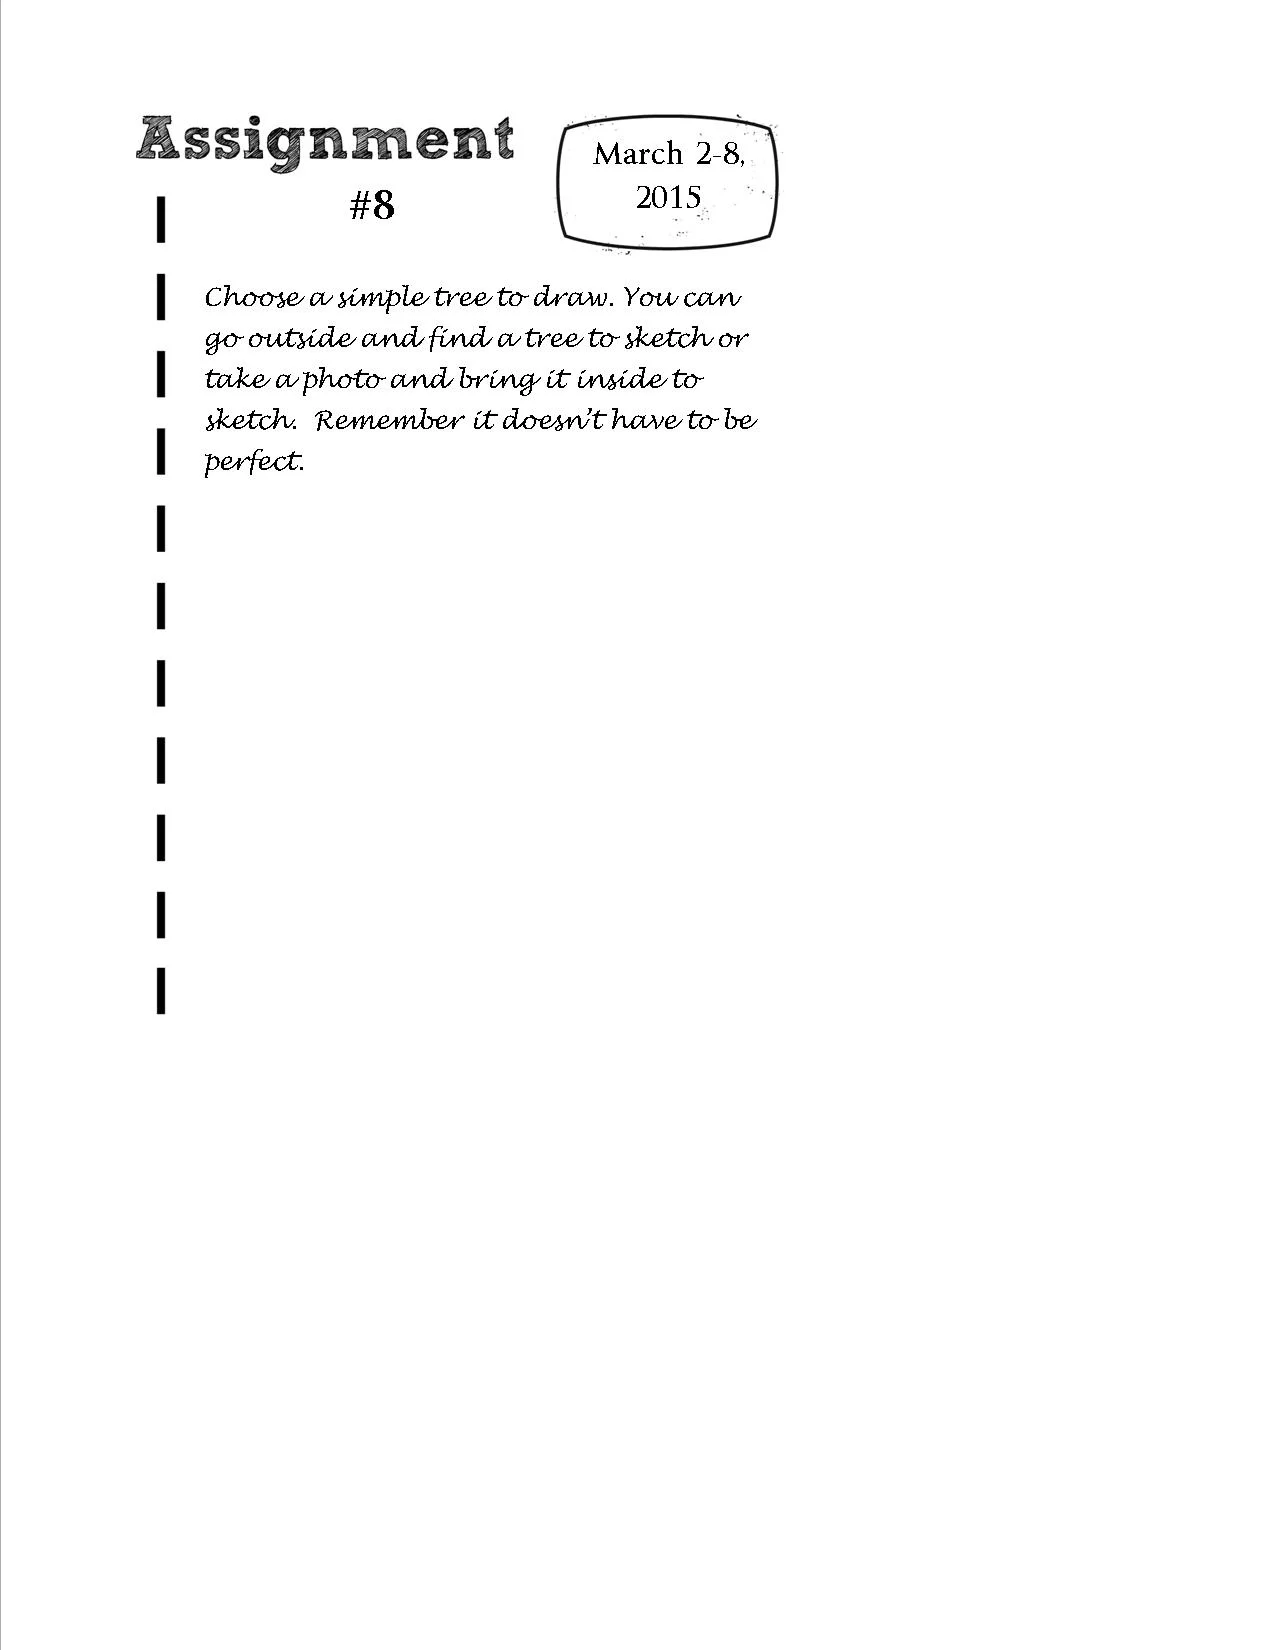
I used the mannikin stand from the floor to where the dress begins as my unit of measurement. I then measured how many stands high and wide the mannikin is. I had to adjust the height of my first stand measurement as it wasn't correct and my mannikin looked squat.
Once I had the measurement correct (it doesn't have to be perfect, it just has to look ok for your purposes), I sketched in the shapes to fill out my stick drawing.
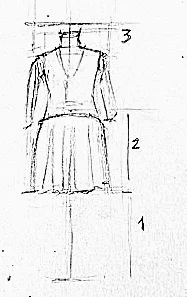
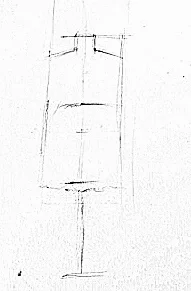
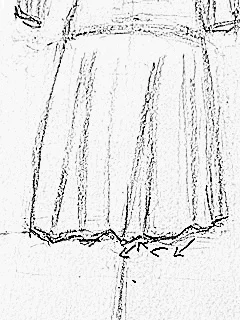
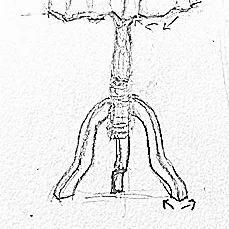
I drew arrows in the sketch below, so you can see where the lines and the planes change direction. Having your lines change direction makes the planes show up and gives your drawing more depth.
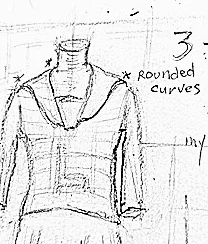
When I drew the L on the chest, it was too big. I knew this because I studied how much room was around the letter on the blouse and noticed the L took up the entire front of the blouse, so I made the L smaller.
I gave the legs of the stand two planes, which shows more dimension.
I drew rounded curves on the blouse going around the neck of the mannikin and over her shoulder's to give my drawing more depth.
I show the top of the cylinder in the stand because it was below my eye level.

I lightened my drawing by picking up some of the pencil with a soft eraser and then was ready to begin the shading. I decided to use light, medium and dark levels of shading or value + black and white.
A blending stump is a very useful tool for shading. You can use it to blend your shading and create it faster and with more values. I bought a pack of blending stumps at Walmart last week in the Arts and Craft section and they were bargain priced!
Here is the first version of the shaded drawing with the line shading.
Here is the second version of the shaded drawing with the shading blended with the blending stump.
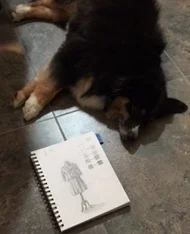
I showed my finished drawings to an art critter, oops I mean art critic and he said my drawings "knocked him out!!"
Lesson 10 - Simply FYIing, Drawing from a Photo and a Little Composition
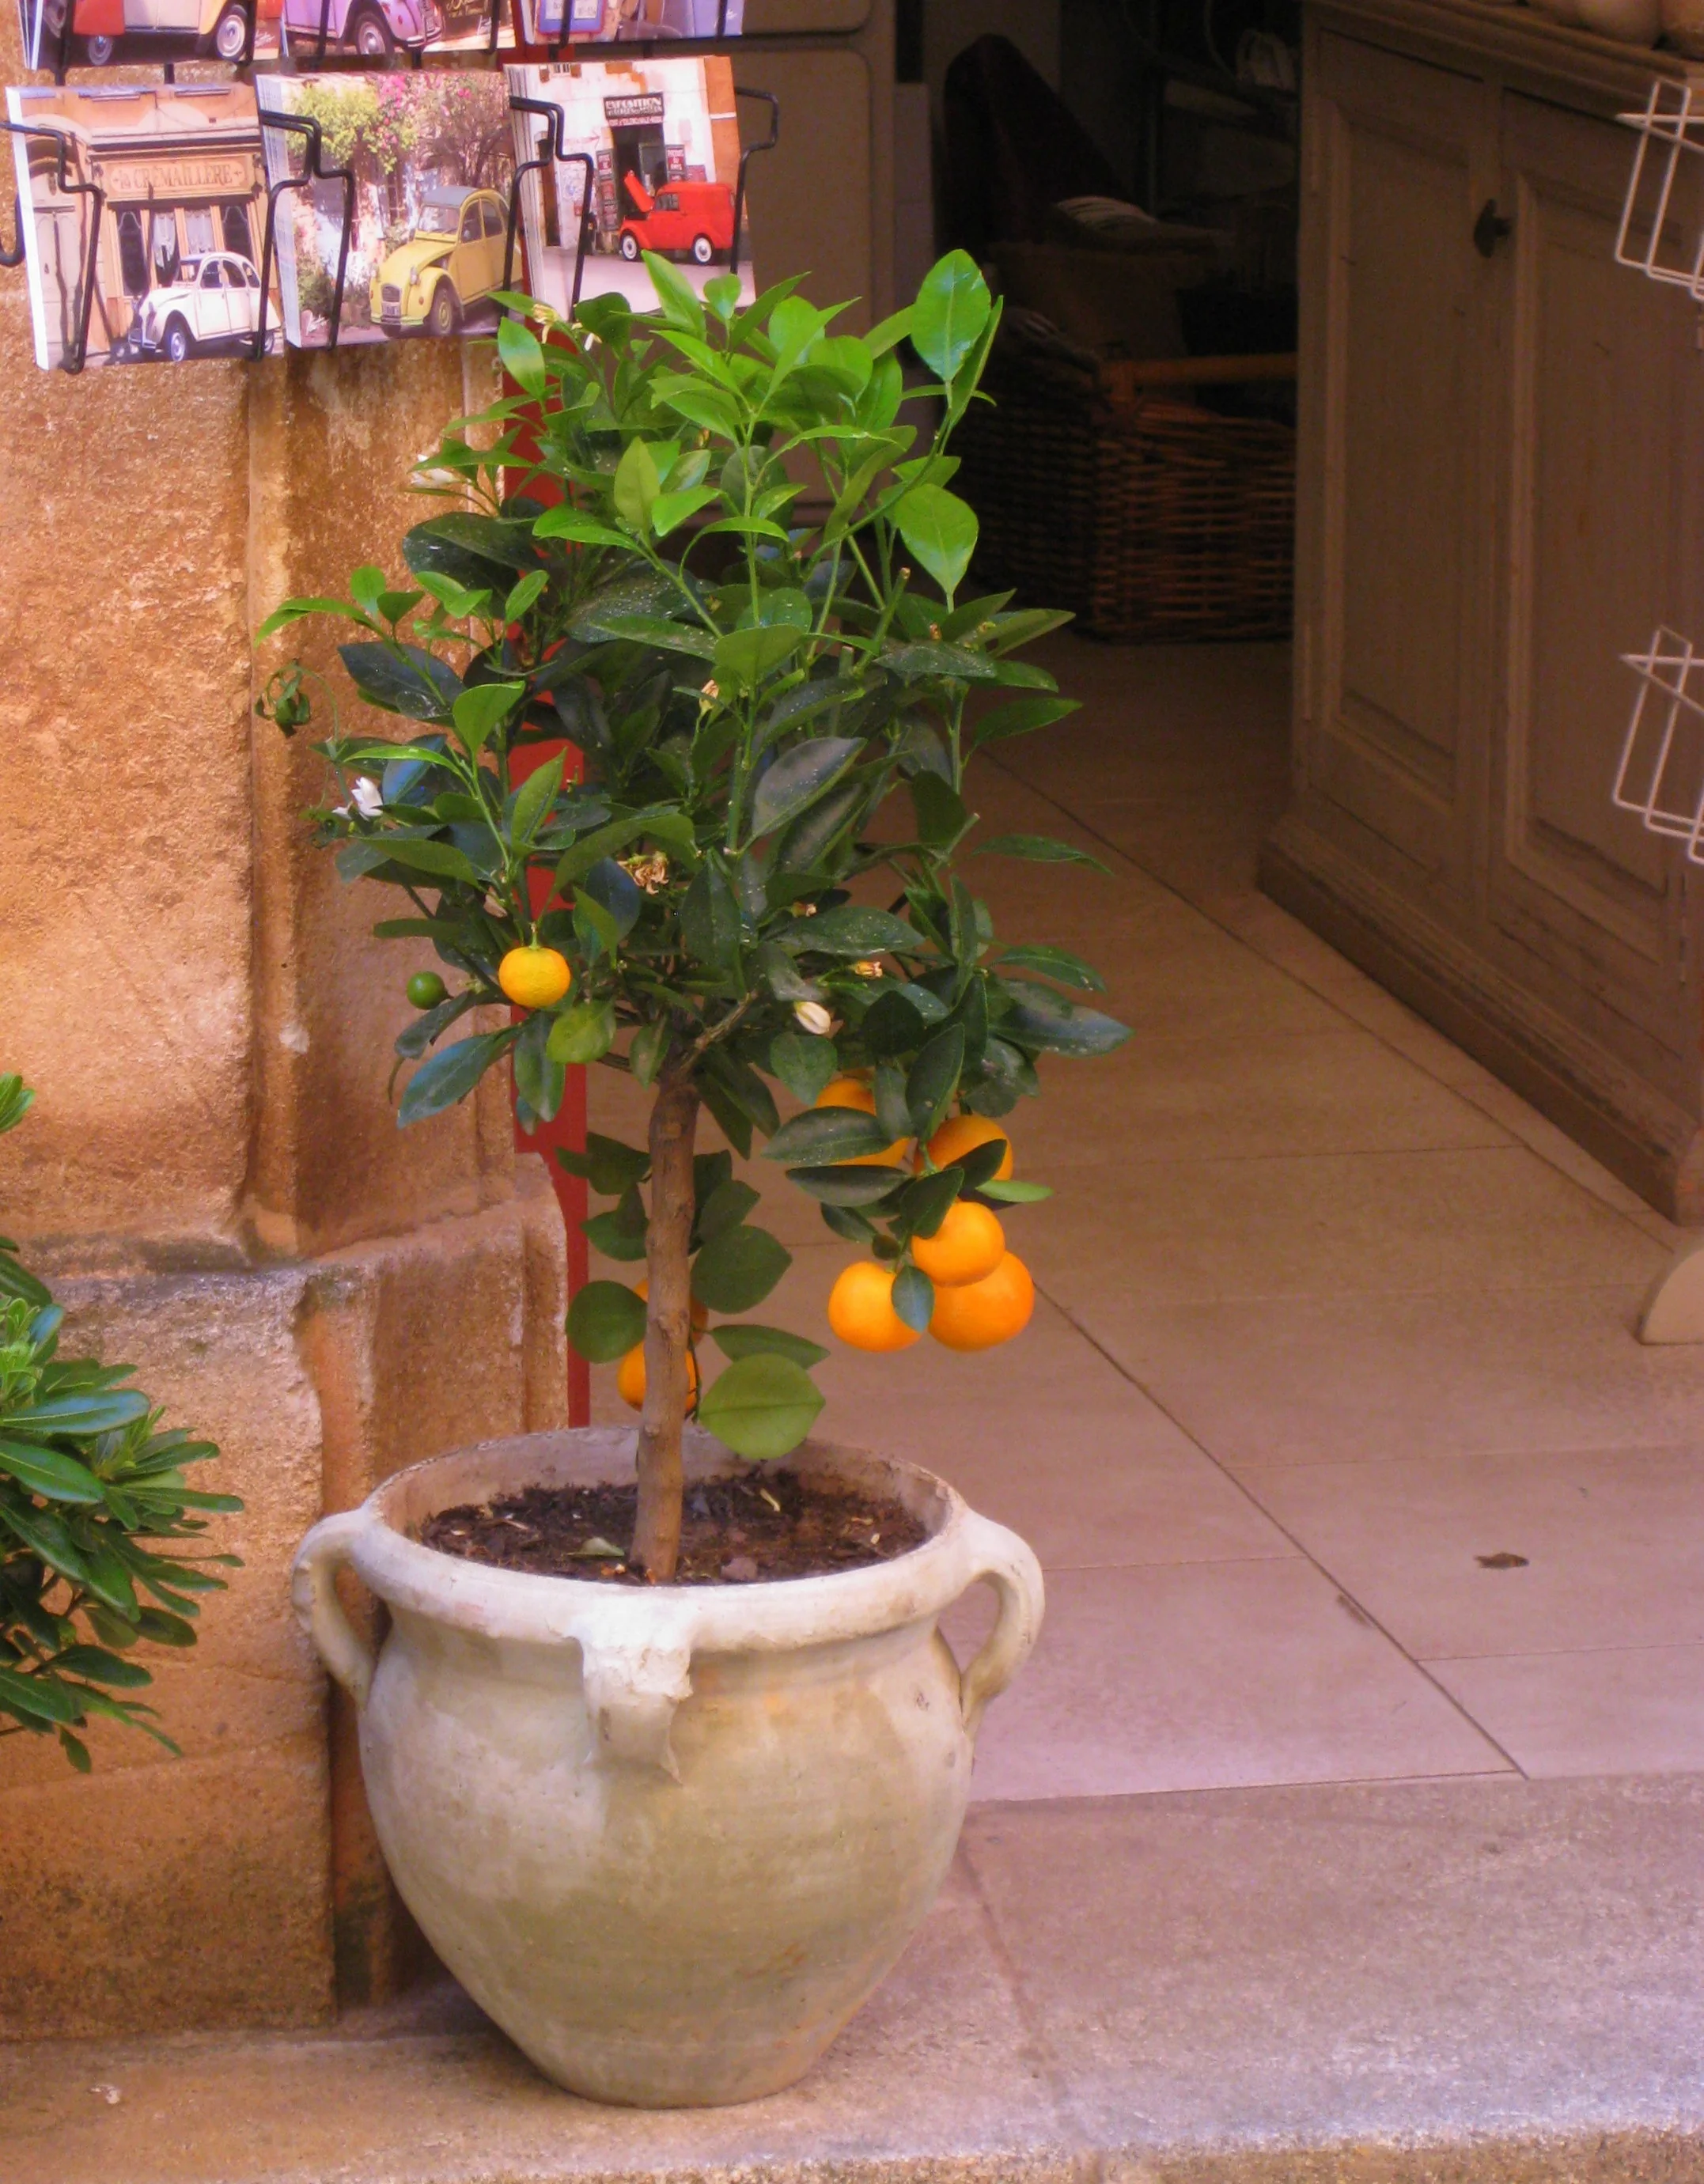
When you want to draw from a photo, there are a few things you can do to make the process easier. By the way, drawing from photos is totally okay with me. Sometimes, I stuff photos into my sketchbook, for those times when I am stuck in waiting and need something interesting to draw. Or sometimes, when I travel I don't have enough time to sit and draw in front of something scenic, so I take a photo and then use it to draw from when I return home.
The photo below was taken on a trip to Provence, France in the town of Rousillion. Even though the photo is not very complicated, it still needs simplification for my tastes to make a good drawing. My plan, before I have put pencil to paper is to leave out the little details and concentrate on the most interesting shapes. Also, I do not plan to draw every leaf on the tree. I plan to mass a lot of them together. Let's see how the drawing goes. In the following pictures, I will explain some ways to make the drawing process easier for you.
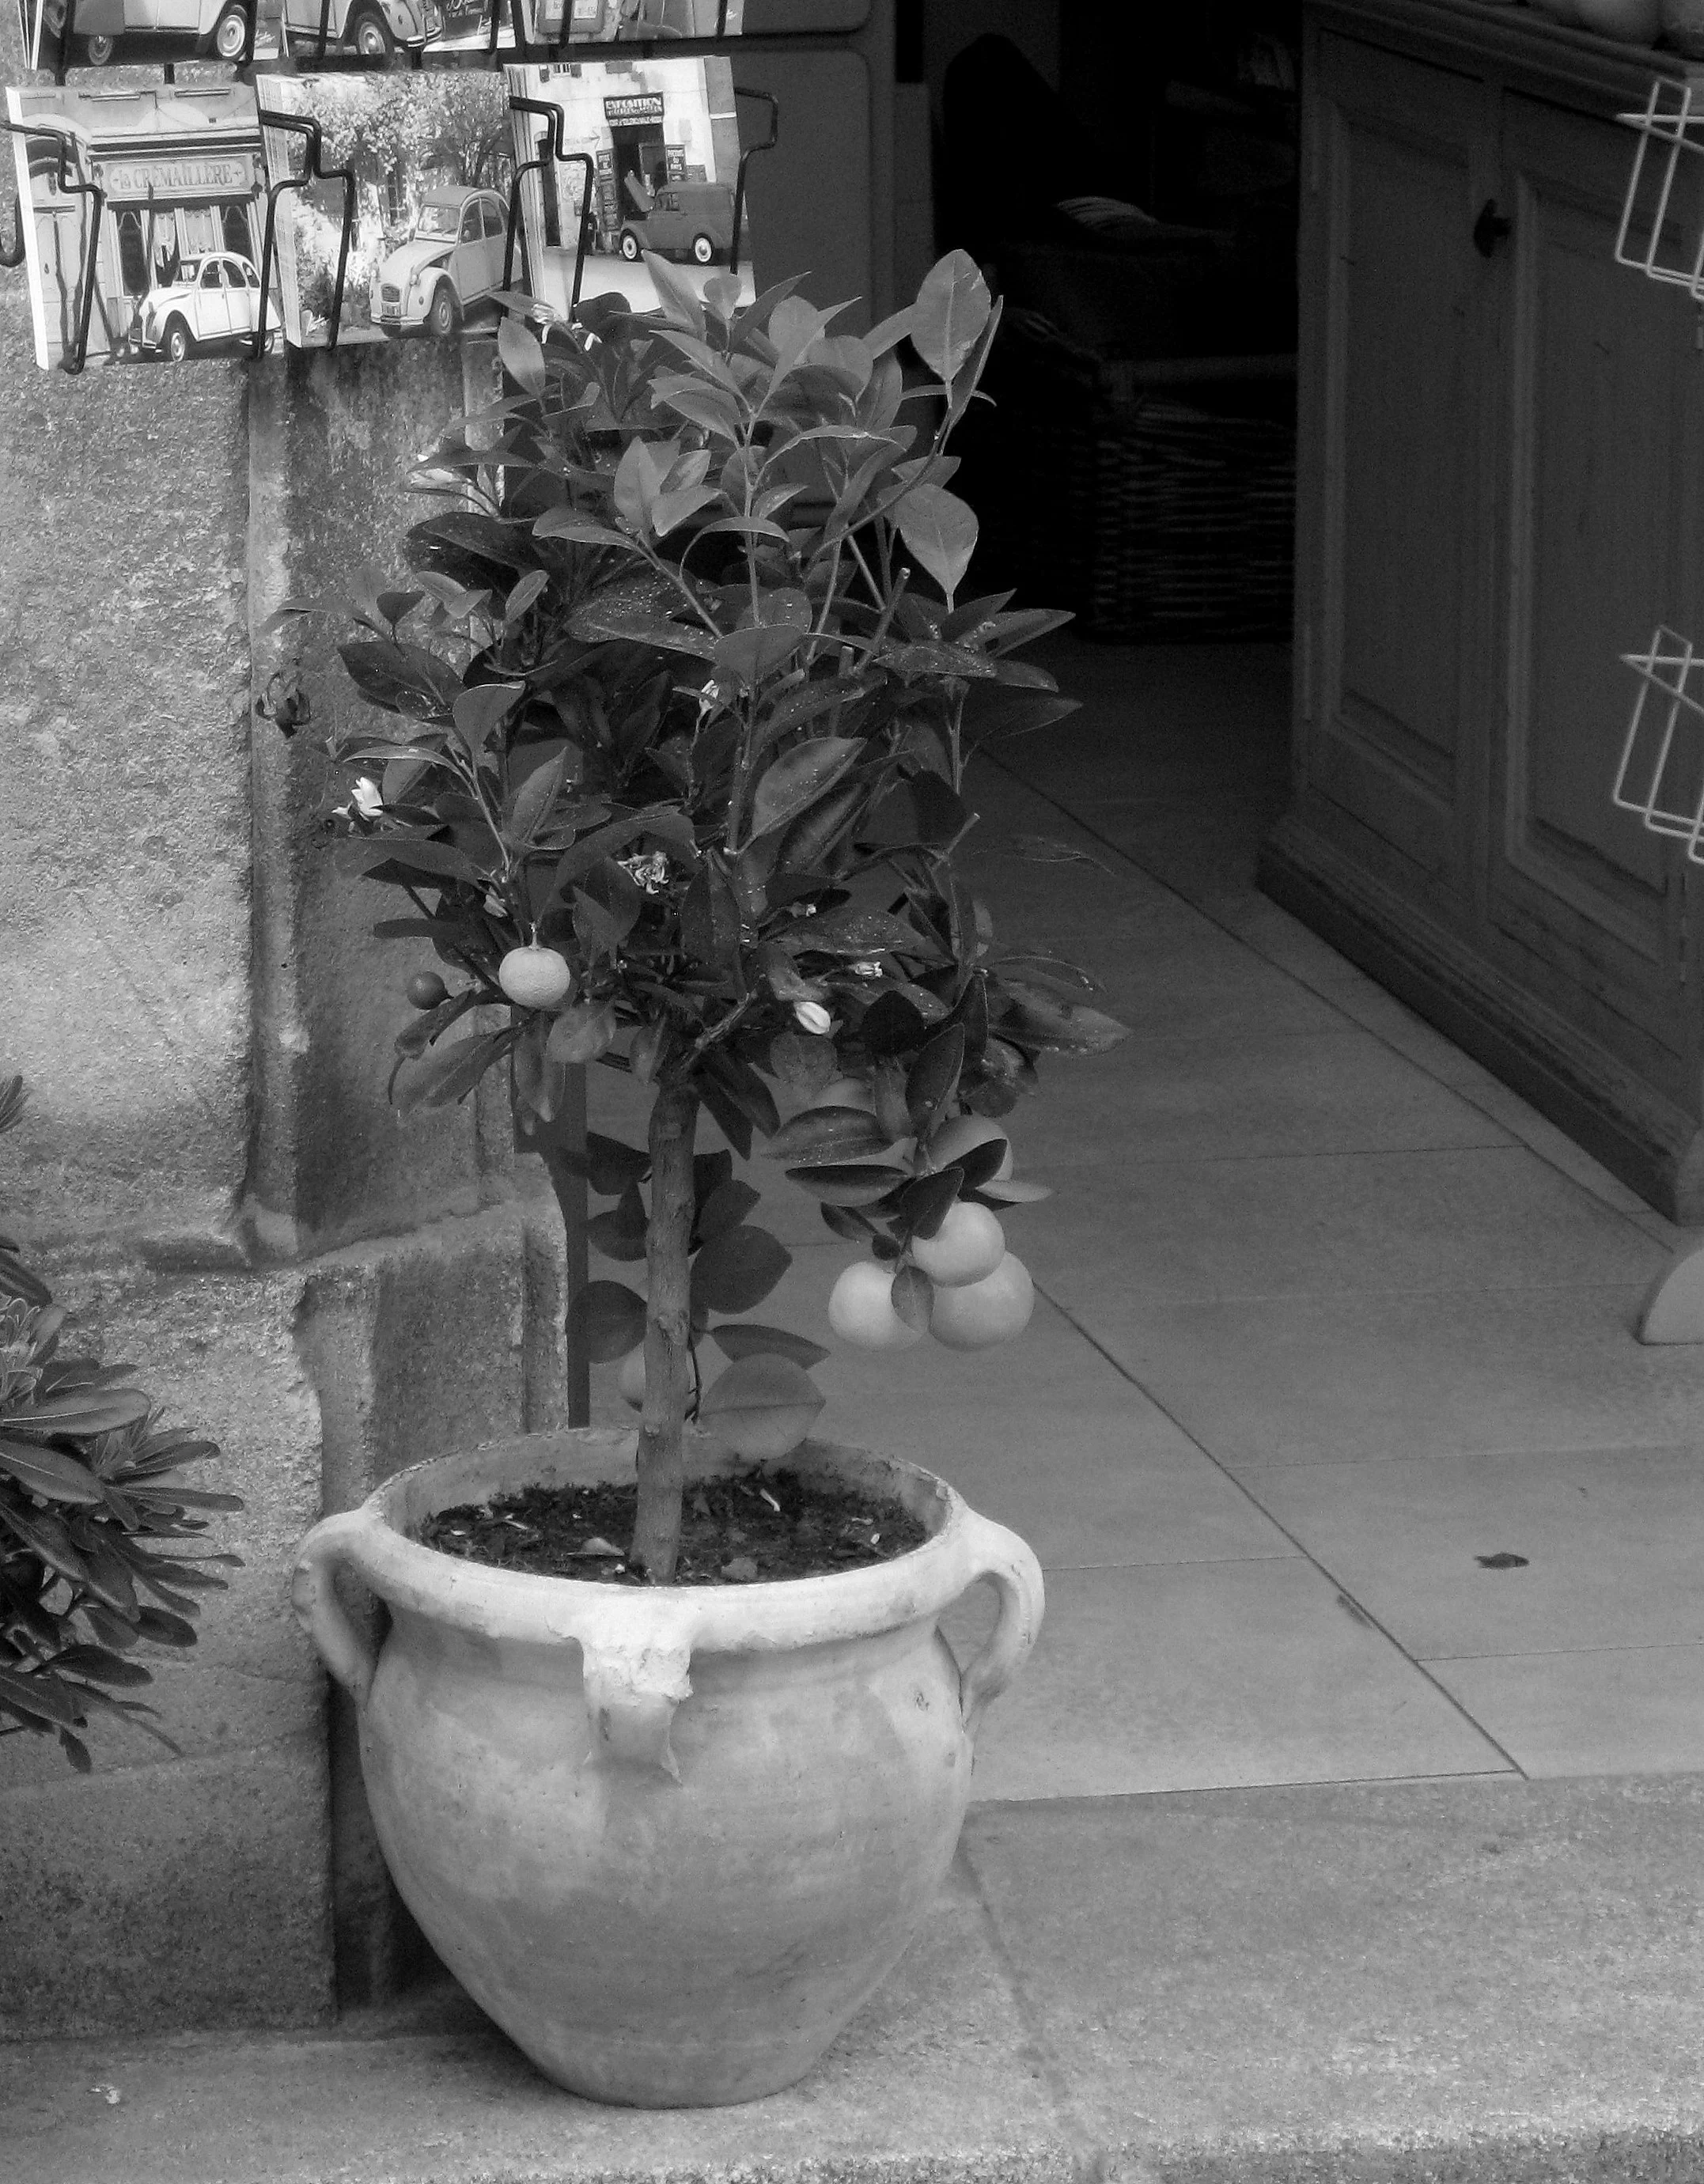
Putting your photo on a printer and printing it in black and white is always a good idea. Then you have a road map of where to put your dark, medium and light shading. If you are technically savy, you can also add more contrast between the values or more shadows to your photo with a program on your computer. I use the free program, Picassa 3.
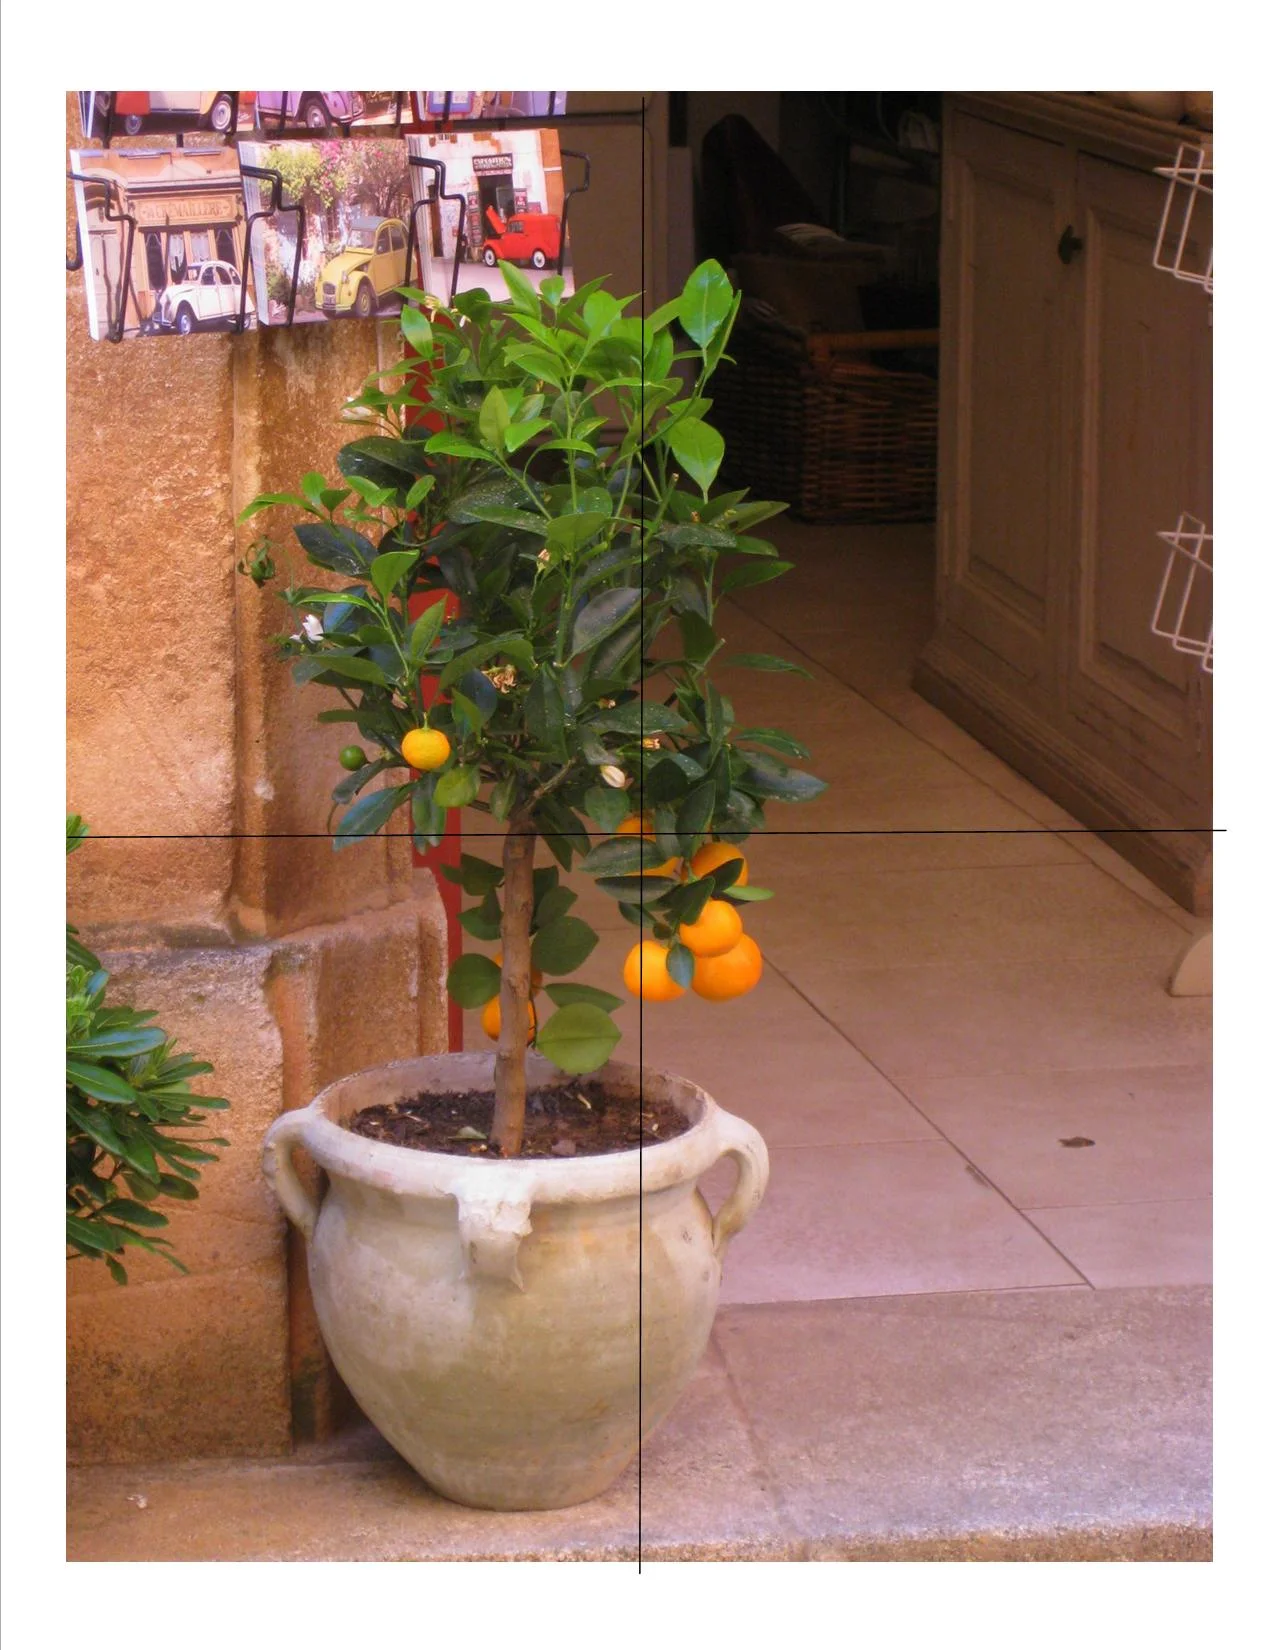
In the photo below, I have divided my photo into quarters. If you lightly sketch quarters on your sketching paper and then concentrate on drawing one quarter at a time, your drawing process will be painless and everything will line up nicely.
To help you understand this week's lesson I made my first video tutorial. I am still perfecting video making, so please understand and let me know what you think.
Learn how to take a travel photo and draw it when you get home.